


Our Journey
Delivering quality wire mesh solutions since 1981, adhering to global standards with ISO certification.

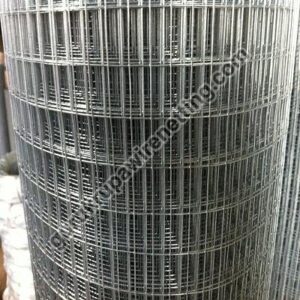
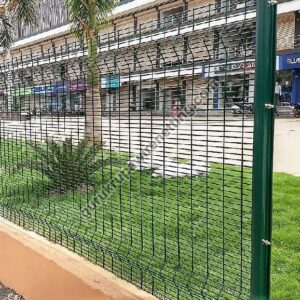
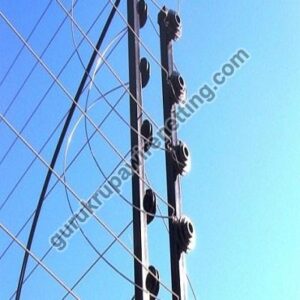
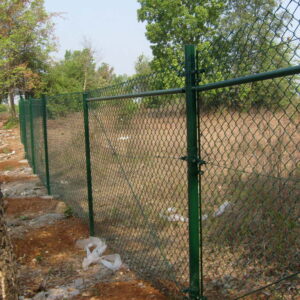
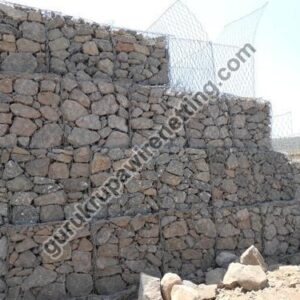
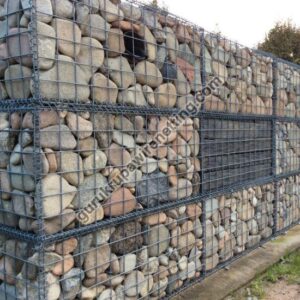
Products
Expert engineers using advanced technology to meet the highest quality standards.

Finalizing Solutions
Reliable delivery of custom wire mesh products with a focus on client satisfaction.


This is by far the best theme on Themeforest. It adapts to a lot of the plugins, and their customer support is great. I really love this theme!
Judith Mckinney
Seychelles
As always a 5 star! i bought this theme the third or fourth time so far... really loving it. the new update from 6.0 is awesome
Harold Nguyen
Syrian Arab Republic